Getting started with Next.js API routes

Next.js is a wonderful production-ready framework built on the JavaScript library React. It's extremely flexible letting us build simple static sites, server-side rendered apps, or a mix of both. One of the cool features of Next.js is how it handles the routing system.
Routes can simply be created by adding a file into the /pages folder that is created for you when you bootstrap an app with create-next-app. Inside of here there is another folder called api. When you create a file inside of api it will be accessible at the route /api/.... But you won't be served with a page this time.
This is an API endpoint belonging to the server-side of your app and is intended to return data, not pages. Here we can write backend code using Node.js if we desire. You might be a bit hesitant about this especially if you come from the position of a front-end developer. This transition between one minute writing Node.js code on the server and the next minute writing react code in the client is a feature of Next.js. and it's awesome when you get going.
I'm here to introduce you to these API routes. Let's go 👏.
Content
Why should we use the
/apiroutesOur first API route
Request and Response
Dynamic Routes
What else might we use an API route for?
Typing API routes with TypeScript
API route configuration
You can check out the Next.js documentation yourself here 👉 Next.js
1. Why should we use the /api routes
A nice way of thinking about a Next.js API route is as a middle-man for your app. Time for an analogy! 😃
Consider a person called John who wants to send a letter to his friend Jane. Once Jane receives the letter she will send a reply back to John. But how do the letters get from one place to another? The Postman/Postwoman of course!
The Postman/Postwoman acts as the middleman. This person handles the logic of transporting the letters where they need to be and this is kind of what we do with Next.js API routes. Often we make a request to an API route with some data. This is like posting your mail into the letterbox.
Then behind the scenes, the post will go through things like sorting and manipulation before being sent to the other end (like an external API). When the person receives and replies to the letter, eventually the original sender will open the reply (response).
So if our API routes are sometimes also sending requests, you might ask something like this 👇
Why should I make a request to
/api/postsand then from there make another request?
There are a few reasons why you might want to do this.
You can access your environment variables safely with
process.envon the server-sideYou can hide your interaction with some external provider by keeping it out of the client
Maybe you have cookies you want to handle on the server
Instead of making a request to https://externalsite.com from the client we instead make the request to our API route api/... with a body of data if required. These routes can act as the go-between for our app to safely communicate between our client and our serverless requirements.
It should be noted that access to Next.js API routes is only accessible from the same origin unless configured otherwise with middleware such as CORS.
2. Our first API route
I'll start by setting up our project directory called next-api-routes with Next.js using the following command
npx create-next-app next-api-routes
Our first example will be a simple request for some data related to blog posts. I will hardcode the data inside a JSON file. Create a file called posts.json and place it at the root of your project alongside package.json and the rest. My data looks like this 👇
// posts.json
[
  {
    "id": "1",
    "title": "Ditch the dreaded <div />. Semantic HTML elements we should use instead"
  },
  {
    "id": "2",
    "title": "Monday motivation - How I got into code"
  },
  {
    "id": "3",
    "title": "How to setup path aliases for development with Next.js & Jest"
  }
]
Now create a file called posts in the api folder so we can hit this route with a request to /api/posts. You can delete the current hello.js file or remove its content and rename it. Inside the /api/posts file we have the following code 👇.
// pages/api/posts.js
import posts from "../../posts.json";

export default (req, res) => {
  res.status(200).json(posts);
}
Essentially our API routes are just functions. We have one default exported function per API route. Here we are also importing our hardcoded posts. The function receives two parameters req and res which are defined as the following.
req- The request object based on the incoming HTTP messageres- The response object based on the HTTP response of the server
We will explore the req and res objects in detail in the next section. You'll be familiar this these if you've worked with Node.js and Express before. Here we send back a response code of 200 indicating it was successful and we can chain this status with .json() response method to send back a JSON response of our posts. Since our list is hardcoded and imported we know it is going to be successful hence the 200 status code.
You can navigate in the browser to the route /api/posts and you should see a response like this 👇
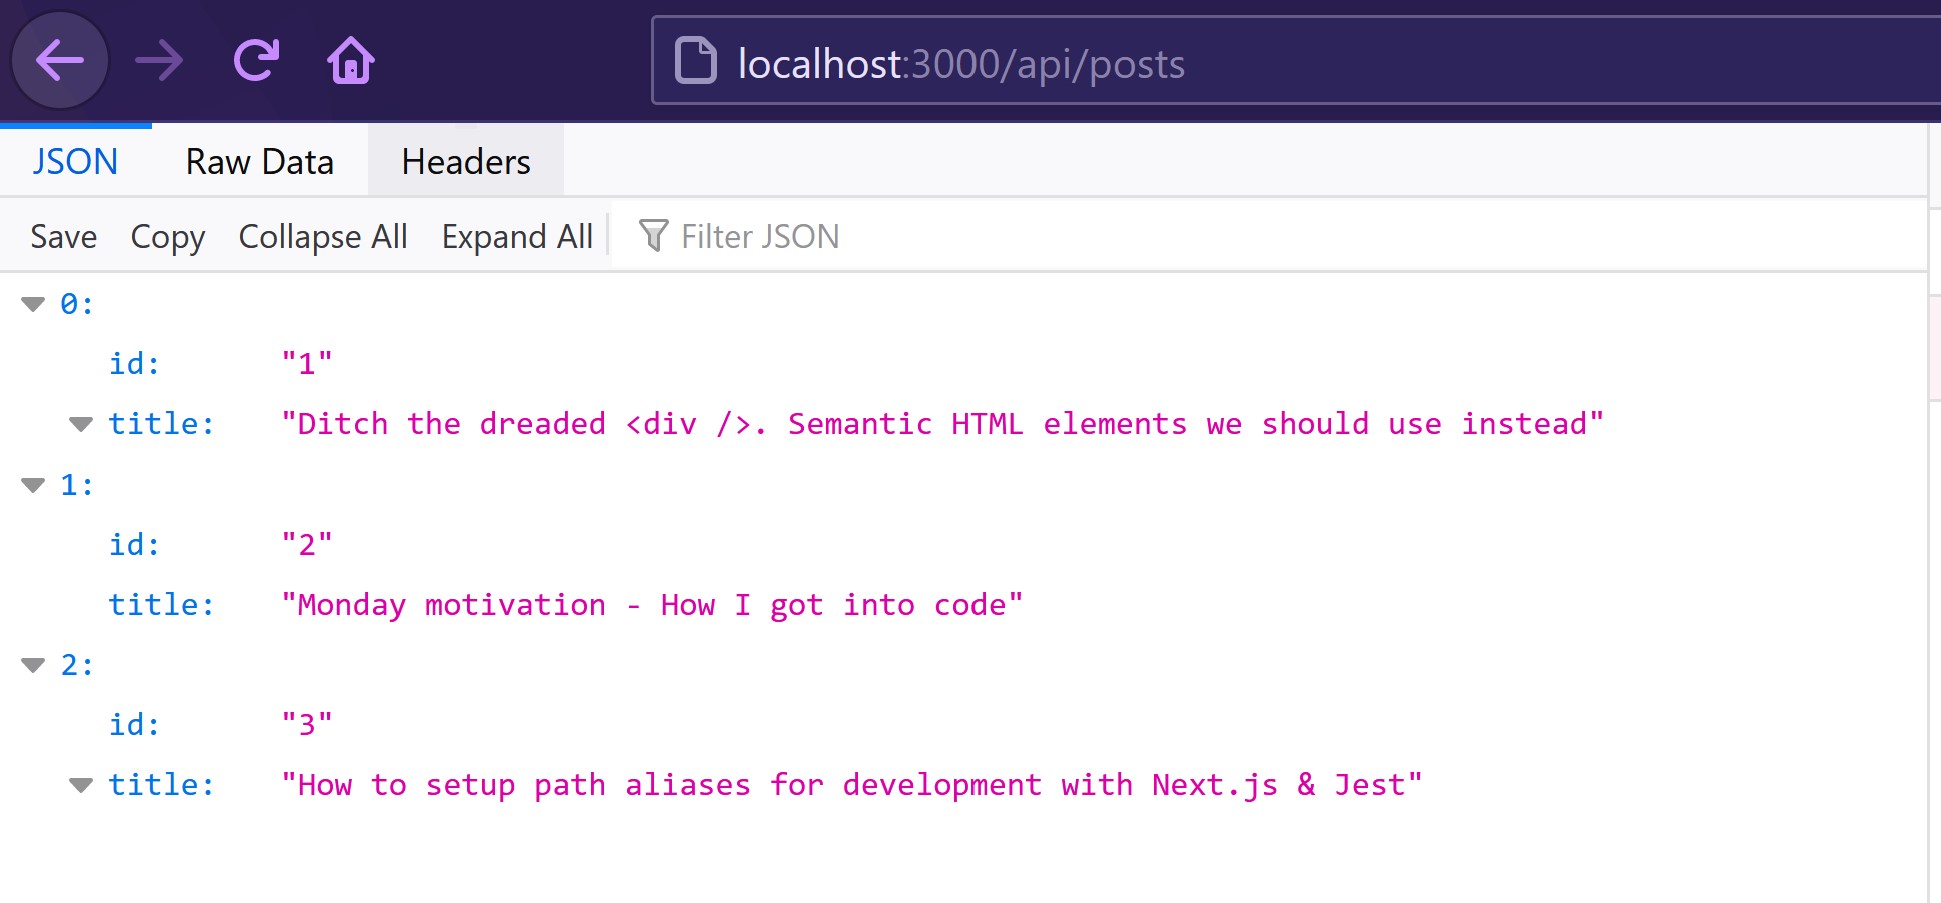
and this is in JSON format. Of course this is just data, not a page. To use the data in our app we would need to send a request for it.
Now we have the route setup we are going to hit it from our app and access the data. We'll work out of the pages/index.js file for the purpose of these examples. The cool thing about Next.js is that we can choose exactly when we need access to this data. We can fetch in on the server using getServerSideProps() or getStaticProps(). We can alternatively fetch in on the client after the page loads. It depends on what the data is and what you want to do with it.
I'll show examples of both because it's very similar. Again you can remove the default markup of this file inside the return method.
First up we'll fetch it client-side on a button click like this 👇
// pages/index.js
import * as React from "react";

export default function Home() {

  const [ posts, setPosts ] = React.useState([]);

  const handleFetchPosts = async () => {
      const postsResponse = await fetch("/api/posts");
      const postsData = await postsResponse.json();
      setPosts(postsData);
  };

  return (
    <>
    <button onClick={handleFetchPosts}>Fetch Posts</button>
    <ul>
      {posts.map(({ id, title }) => (
        <li key={id}>{title}</li>
      ))}
    </ul>
    </>
  )
}
Or you could pre-render the page server-side like this 👇
// pages/index.js
import * as React from "react";

export default function Home({ posts }) {
  return (
    <ul>
      {posts.map(({ id, title }) => (
        <li key={id}>{title}</li>
      ))}
    </ul>
  )
}

export async function getServerSideProps() {
  const postsResponse = await fetch(process.env.BASE_URL + '/api/posts');
  const postsData = await postsResponse.json();

  return {
    props: {
      posts: postsData
    }
  }
}
These examples don't include error handling due to the fact we know the data exists. A few things to note in the server-side example. Here if you pass the same URL to the fetch function as the previous example you'll see this error 👇
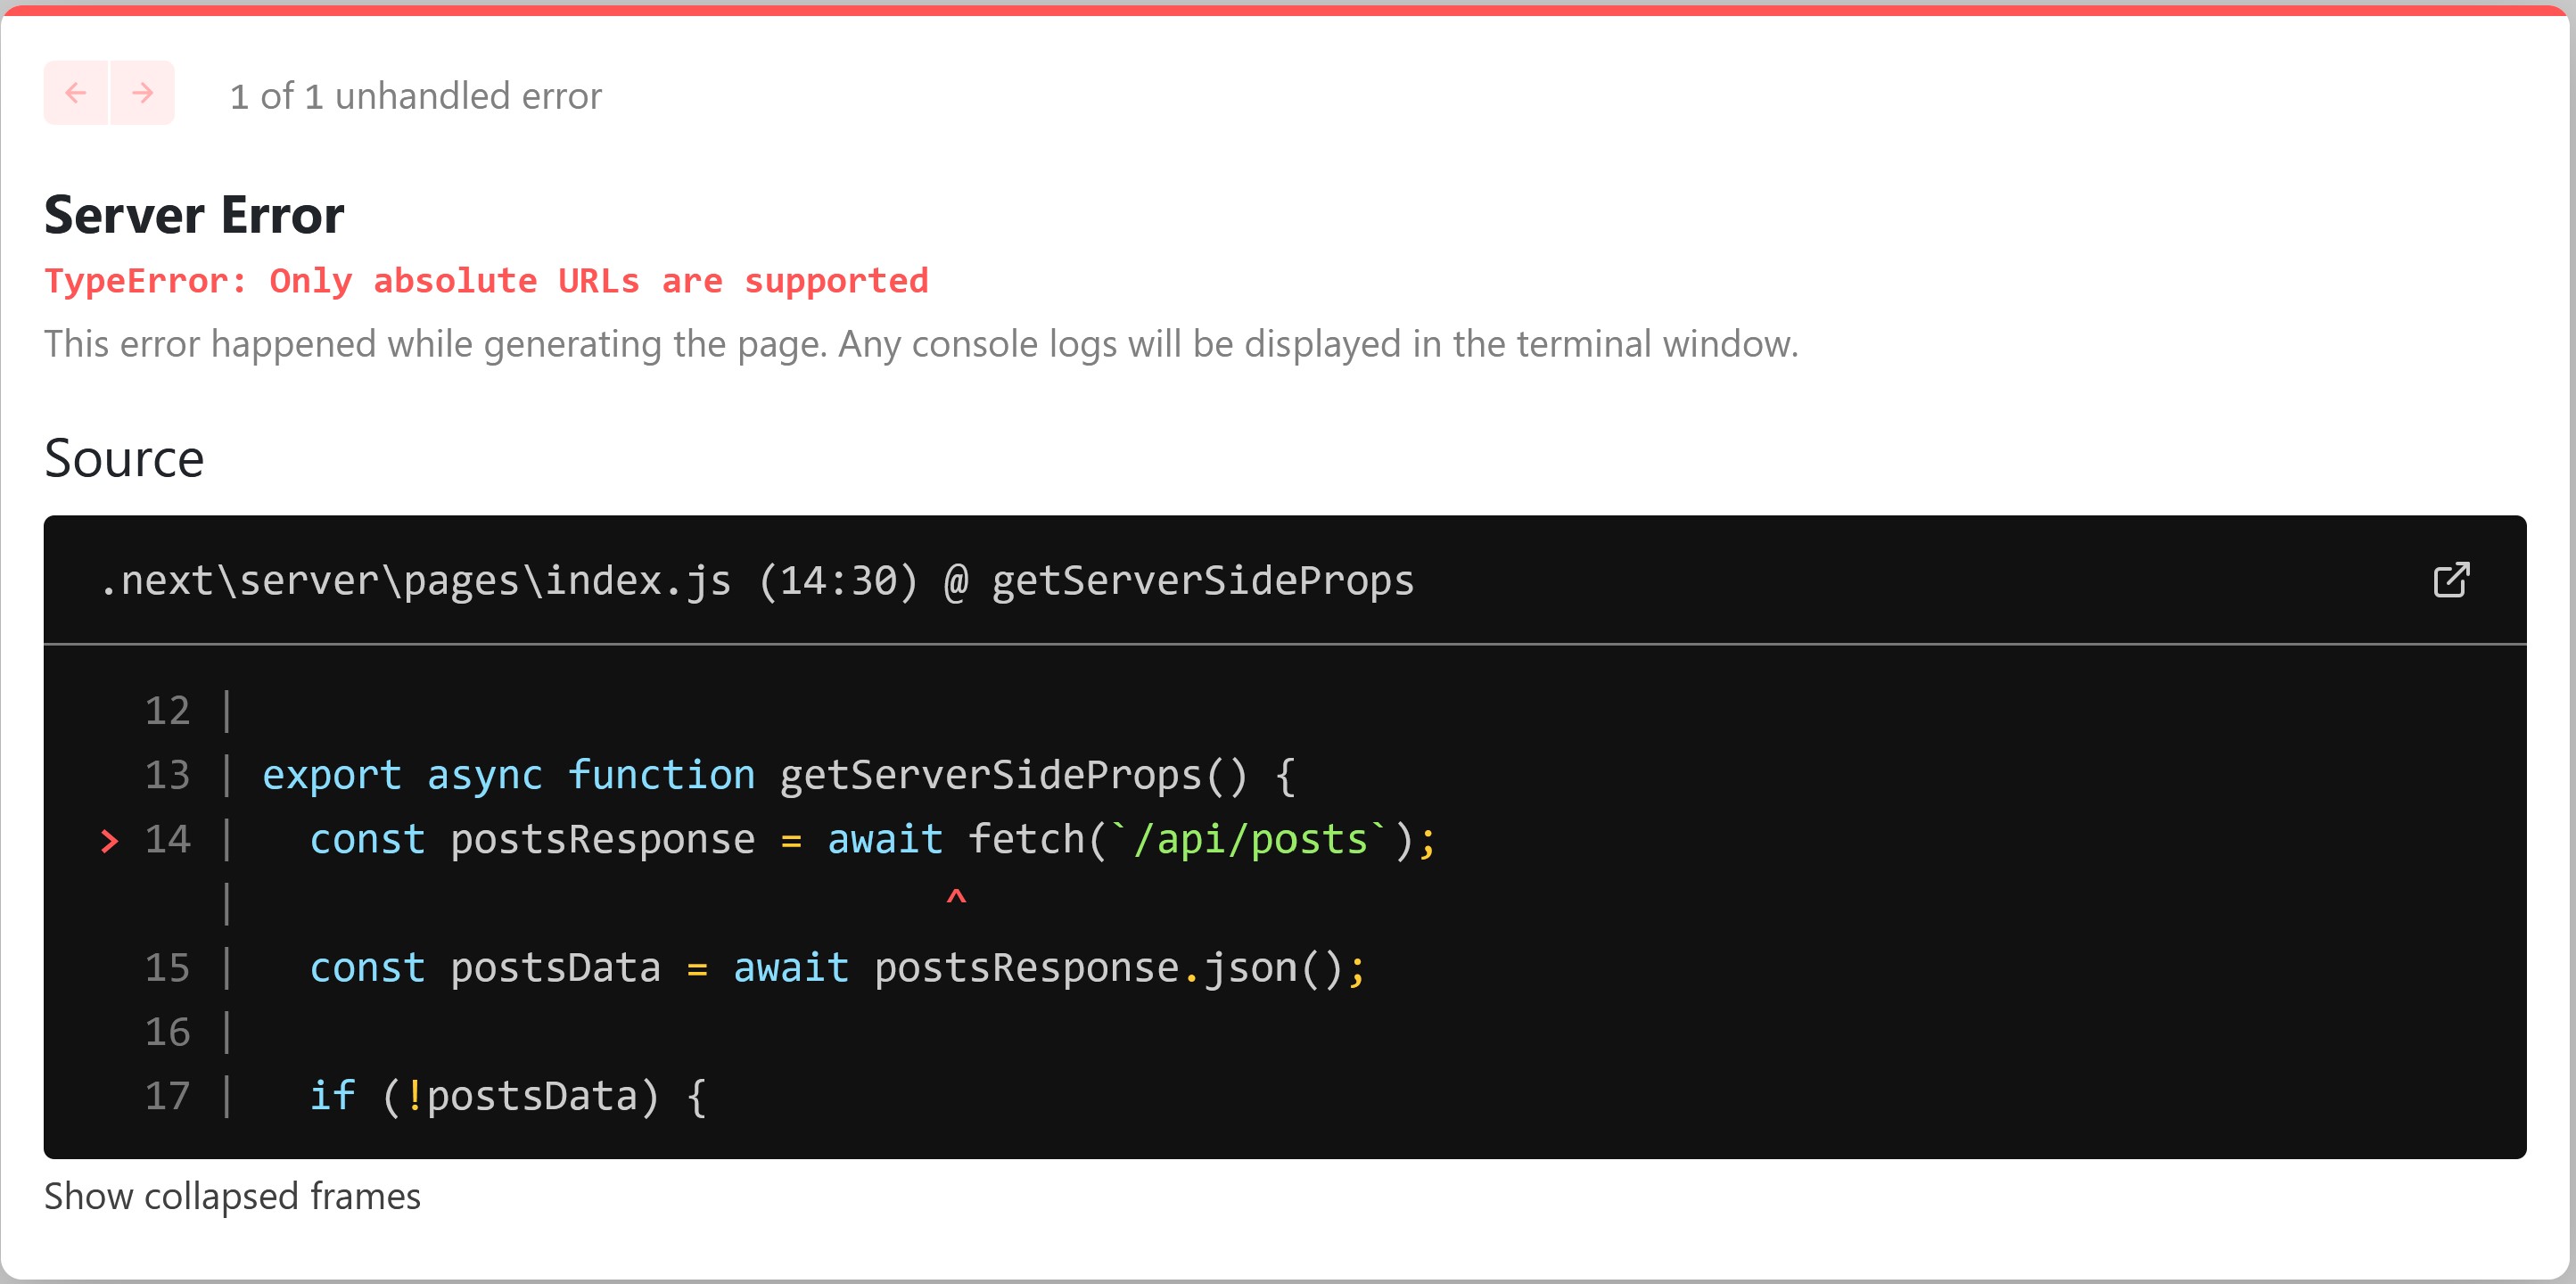
To fix this we need to change it to an absolute path. Because we're on the server-side we can access our environment variables using proccess.env and I create a variable called BASE_URL. This variable holds the value http://localhost:3000 for now. If you were building an application to be deployed you would want this to be configurable based on the environment.
Once we have the data we return it through the props object and access it through the props of our home page. This time I removed the button and instead decide to pre-render the page with our data.
Checkout the Next.js documentation on getServerSideProps() if you need more information Next.js - getServerSideProps (Server-Side Rendering)
3. Request and Response
Next.js provides us with middleware built into API routes to parse the request.
req.body- The request body where we send some data to our routereq.cookies- Cookie object sent with the requestreq.query- URL query string object of the request
Let's take a look at some of the things we can access from the request. The following code is in our pages/index.js file and it will send a request to a route called user.js at /api/user with some data.
// pages/index.js
export default function Home() {

  const handleSubmission = async () => {
    const info = {
      name: "Kieran",
      age: 26
    }

    const res = await fetch("/api/user", {
      method: "POST",
      headers: {
        "Content-Type": "application/json"
      },
      body: JSON.stringify(info)
    });

    const data = await res.json();
    console.log(data) // { message: "success" }
  }

  return (
    <div>
      <button onClick={handleSubmission}>
        Hit Route
      </button>
    </div>
  )
}
All we are doing here is sending our request with our info object in the request body in JSON format. To do this we send a POST request with our data when we click the button.
Next up let's see what data we can access on the request. I have added a new API route at /api/user.js with the following code 👇
// pages/api/user.js
export default async function user(req, res) {
    console.log(req.body); // {"name":"Kieran","age":26}
    console.log(req.query) // {} in our example

    console.log(req.method); // POST
    console.log(req.headers.host); // localhost:3000
    console.log(req.url); // /api/user

    res.status(200).json({ message: "success" })
}
Don't forget to send a response back from your API routes like we do here with res.json(), otherwise you'll see this 👇
API resolved without sending a response for /api/user, this may result in stalled requests.
Above you'll see some of the things we can access on the request and the result of each in our example. If you log the request object to the console you will see a large amount of data returned. Don't forget that because this is running on the server, you won't be able to see this logged in the browser. You'll find it in your terminal instead.
Now let's take a look at the response. As we've previously explored, our API routes often act like middleware for our app between our client and external services. The general flow is like this 👇
Send a request to the API route
Do something with the request
Finish by returning a response
If you're familiar with Node.js and Express then the following will be familiar to you. Next.js provides methods on the res object that let us control how we return a response. Let's check them out 👇
res.status(statusCode)- Return a status code in the response headers
200's- Success
300's - Redirect
400's - Client errors
500's - Server errors
res.json(json)- Return a JSON response objectres.redirect([ status ], path)- Return a redirect with a status coderes.send(body)- Return the response body as a an object, string or buffer
As you've seen in previous examples we can chain these together to return a status code with some data such as res.status(500).json({ message: "Bad request" }); allowing us to better control our responses.
4. Dynamic Routes
In Next.js we can also create dynamic routes that match different queries.
Using our posts example from earlier, let's see an example of dynamic API routes. Create a directory called posts inside the api folder. Then create a file called [postId].js inside the posts directory.
We use the square bracket syntax for dynamic routes and pass in a parameter name of your choice You should end up with /api/posts/[postId].js. We have the following code inside this file 👇.
import posts from "../../../posts.json";

export default async (req, res) => {
    const post = posts.find(({ id }) => id === req.query.postId);

    if (post) {
        res.status(200).json({ message: "success", post });
    } else {
        res.status(400).json({ message: "post not found" });
    }
}
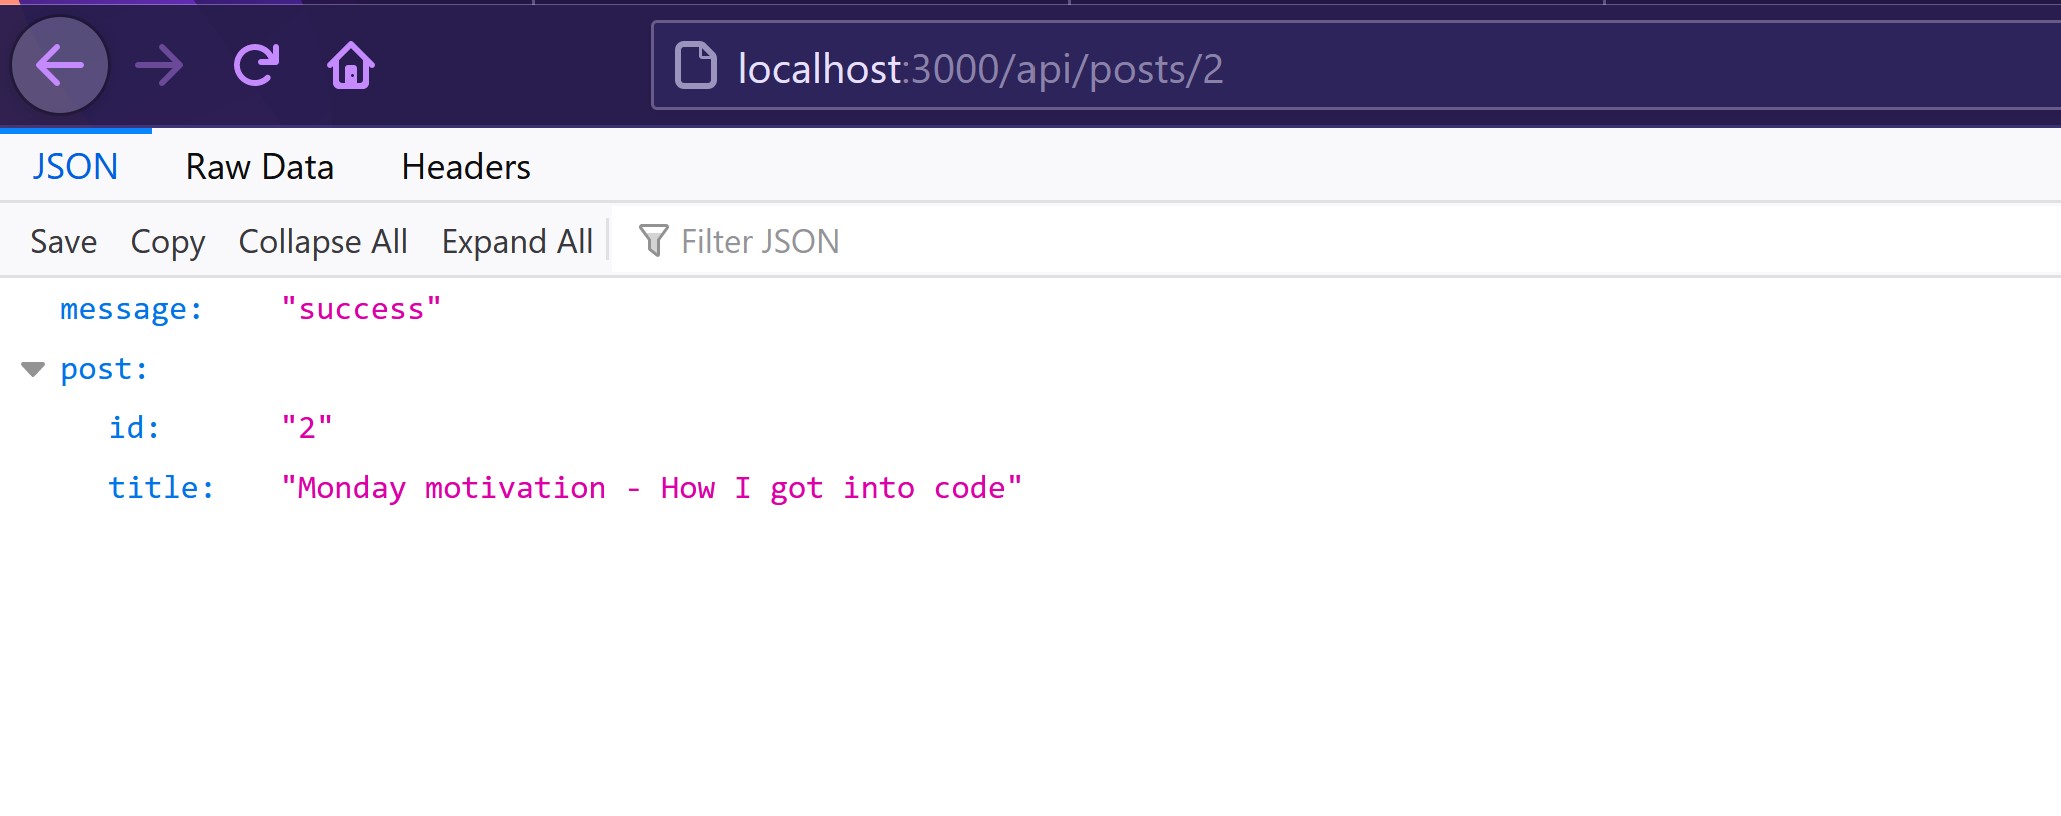
You can test this out in the browser by navigating to http://localhost:3000/api/posts/1. We can access the query using the middleware req.query as we've previously seen. Then we can use this to see if the article exists in our hardcoded posts based on the id we pass to the query.
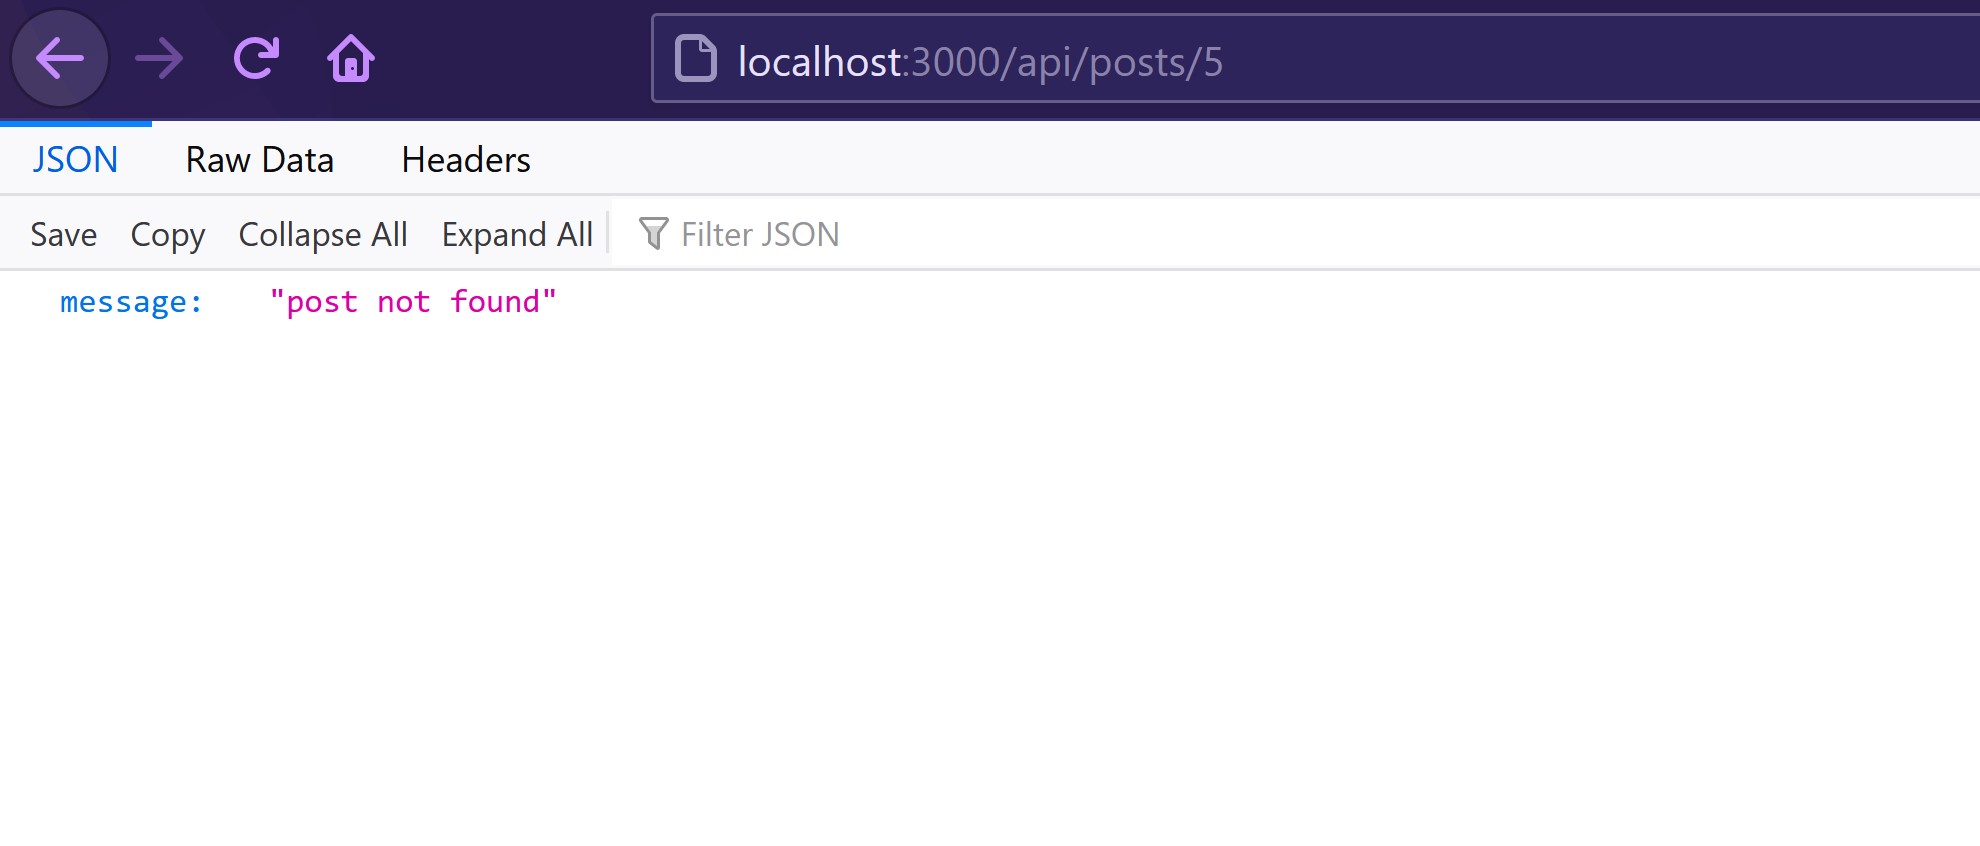
If it is present, we send back a success response with the post. Otherwise we send back a not found status with a generic error message.
Here you can see the successful response in the browser 👇
and the fallback response 👇
5. What else might we use an API route for?
I wanted to share some real examples where you might use Next.js API routes. Recently I built a full-stack serverless e-commerce site using Next.js and these routes allowed me to create a dynamic site using these serverless functions.
I have an article focused on that site here - I built a full-stack serverless e-commerce site with Next.js. Here's an honest review of what I learned and how it might help you
The API routes served as the middle-man for my app's authentication, in this case using auth0. I created routes for handling login, logout, session, and more all without the need of a server.
I also have serverless functions for creating a checkout session using the payment platform Stripe and handling the creation of orders based on successful payments. The possibilities are endless!
6. Typing API routes with TypeScript
Recently I have been learning TypeScript so I wanted to quickly share an example of how you can type the request and response of an API route function. Using our previous posts example we can type it like this 👇
// pages/api/posts/[postId].js
import posts from "../../../posts.json";
import type { NextApiRequest, NextApiResponse } from "next";

type ResponseSuccessMessage = "success";
type ResponseFallbackMessage = "post not found";
interface Post {
    id: string;
    title: string;
}

interface PostSuccessResponse {
    message: ResponseSuccessMessage;
    post: Post;
}

interface PostFallbackResponse {
    message: ResponseFallbackMessage;
}

export default async (req: NextApiRequest, res: NextApiResponse<PostSuccessResponse | PostFallbackResponse>) => {
    const post = posts.find(({ id }) => id === req.query.postId);

    if (post) {
        res.status(200).json({ message: "success", post });
    } else {
        res.status(400).json({ message: "post not found" });
    }
}
7. API route configuration
Next.js also allows us to customize the configuration of the route in a couple of different ways. We do this by exporting a config object from the route like this 👇.
import posts from "../../posts.json";

export default (req: NextApiRequest, res: NextApiResponse) => {
  res.status(200).json(posts);
}

export const config = {
  api: {
    bodyParser: false, // set to true by default which parses request bodies
    externalResolver: true // sets whether the route is handled by something like Express
  }
}
In most cases, this won't be necessary but it's useful to know it's there. One thing to note is that the default config is as follows 👇
export const config = {
  api: {
    bodyParser: {
      sizeLimit: "1mb",
    }
  }
}
This means bodyParser is enabled by default meaning that even if you don't include the Content-Type header in your request, the request body will still be parsed using the default config. If you set bodyParser to false you have to make sure to send the correct headers but I recommend leaving this set to true.
Conclusion
That is my introduction to Next.js API routes. I hope you enjoyed and if you did let me know about it here on Hashnode or @Kieran6dev where I'm always available.
I would love to write an article in the future where we build a small app using Next.js API routes including something like authentication or payments. Let me know if that interests you!
Until next time 👋